Setting up a chatbot Calendly integration is one of the fastest ways to turn website visitors into booked meetings automatically — no developer, no complex setup, no ongoing maintenance required.
You spent money getting people to your website. They landed on your page, read through your offer, and left without doing anything. No form filled out. No email captured. No meeting booked.
This is not a traffic problem. It is a timing problem.
Ninety-six percent of website visitors leave without taking any action — not because they were uninterested, but because there was nobody there to catch them at the right moment. A static contact form does not cut it. A link buried at the bottom of your page does not either.
What actually works is a conversation. Specifically, an AI sales agent for your website that starts talking to visitors the moment they arrive, answers their questions in real time, and shares your Calendly link at exactly the right moment so they can book a meeting without ever leaving your site.
This guide walks you through exactly how to set up a chatbot Calendly integration from scratch, with no coding required, in under 30 minutes.
Why a Chatbot Calendly Integration Changes Everything
Most businesses use Calendly as a passive tool. They paste the link in an email, put it on a contact page, and hope someone finds it.
The problem is that nobody books a meeting with a stranger. They book a meeting after a conversation has already built enough trust and answered enough questions. That is the gap a no-code chatbot with Calendly integration fills.
When your AI agent is handling the conversation — qualifying the visitor, answering questions about pricing and features, and then naturally offering to book a call — your Calendly link becomes a closing tool instead of a passive form.
Businesses using this approach consistently report two to three times more Calendly bookings from the same traffic they were already getting. Not because they ran more ads — just because they added a smarter handoff at the end of the conversation.
What You Need Before You Start
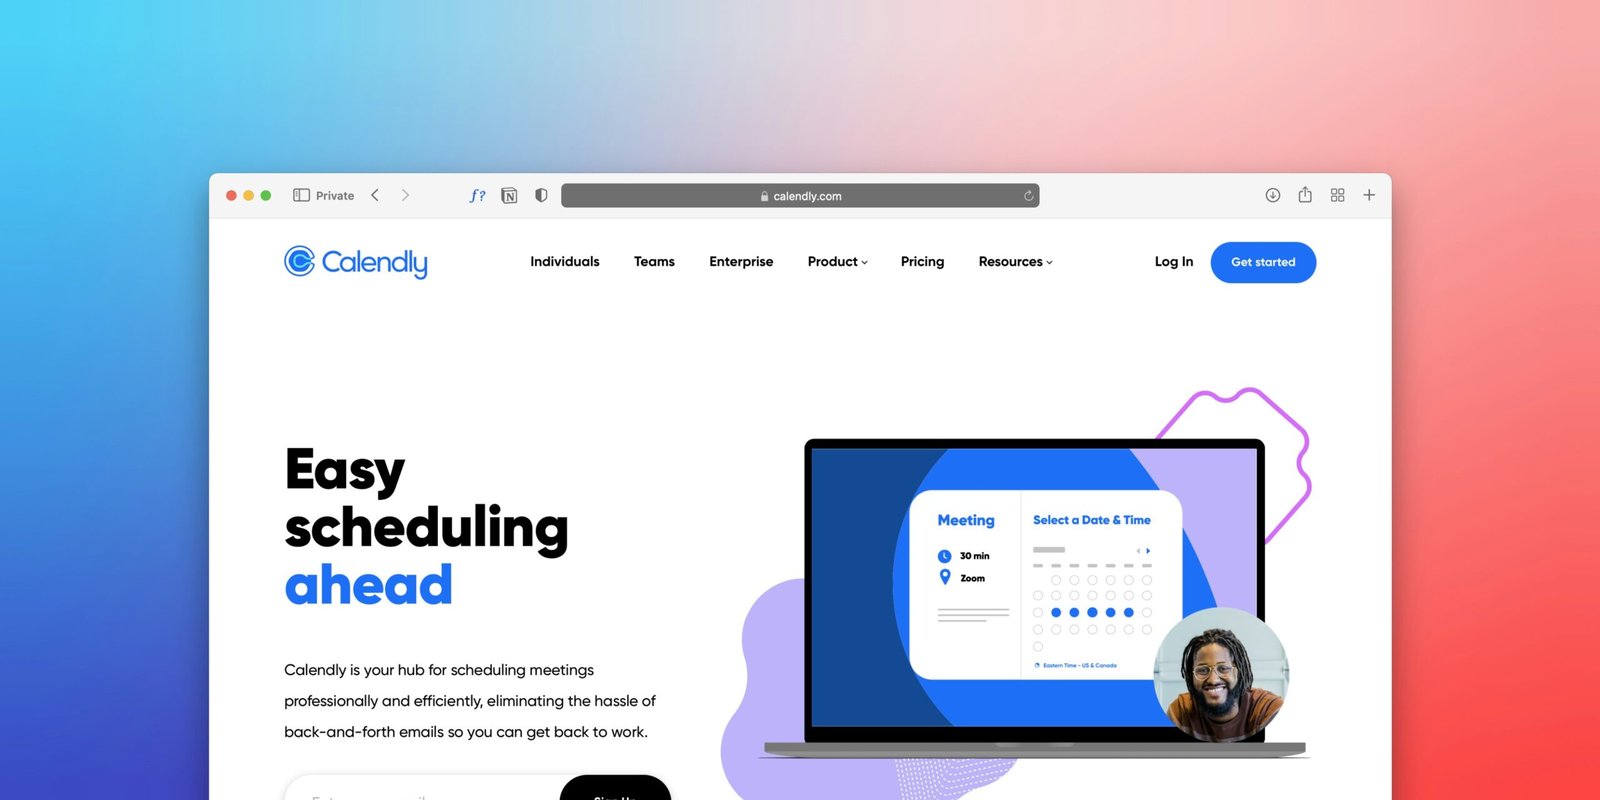
A Calendly account. The free plan works fine. You just need at least one event type set up — a 30-minute intro call, a product demo, whatever fits your sales process. You can create a free Calendly account at calendly.com.
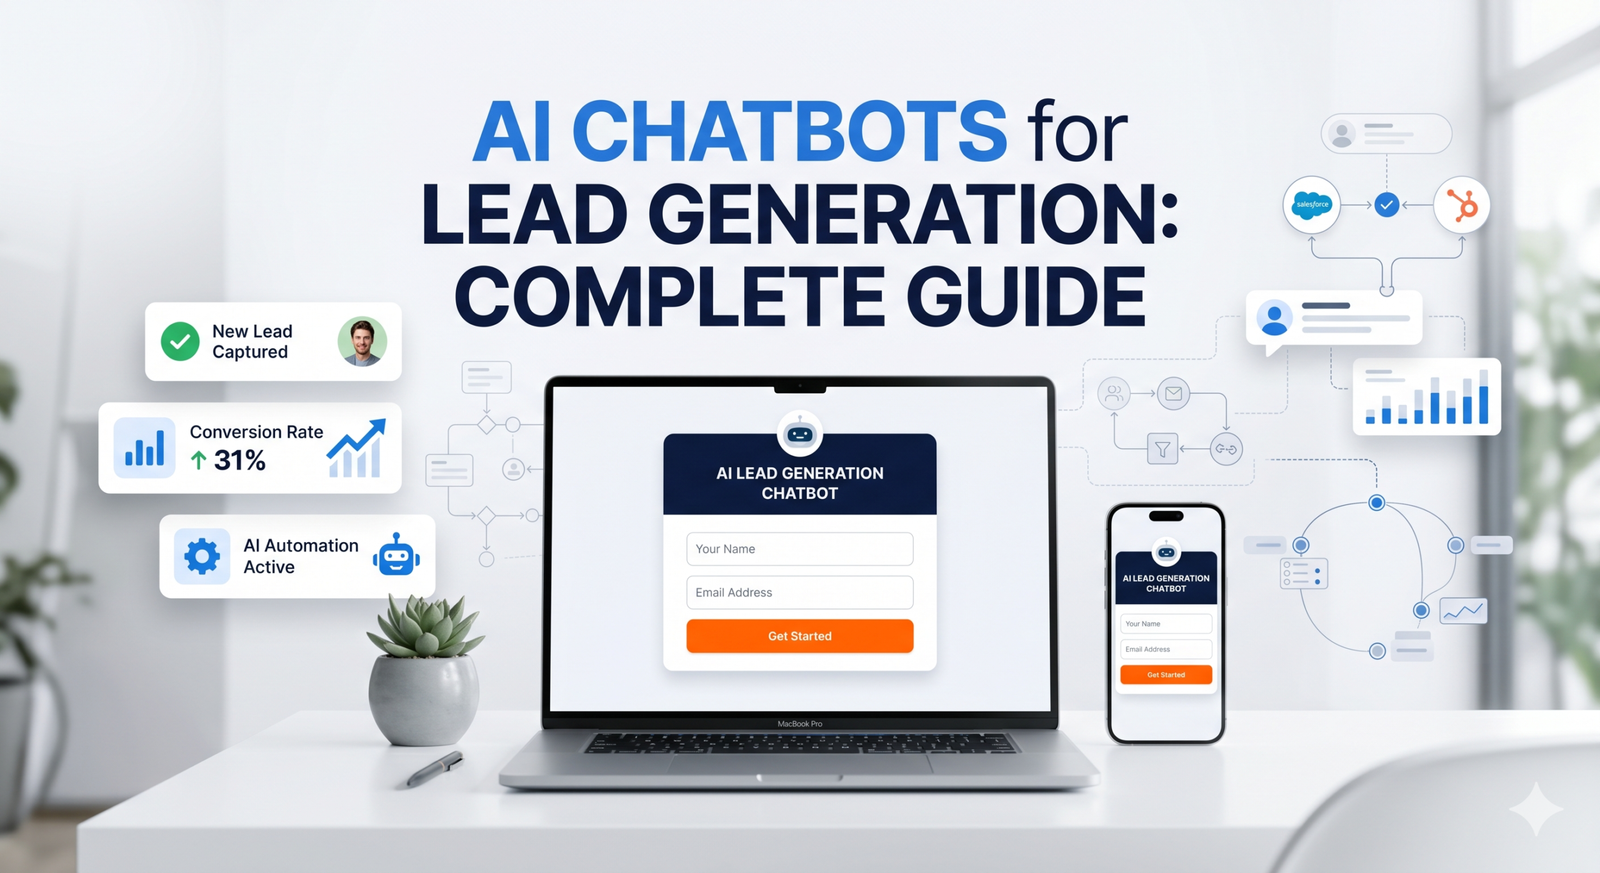
An AI chatbot builder with native Calendly integration. Not all platforms support this natively. Some require Zapier workarounds or developer configuration. For this guide we are using YourSaleMate, which has Calendly integration built directly into the platform with no workarounds needed.
A website to embed it on. WordPress, Webflow, Wix, Squarespace, or custom HTML — any website where you can paste a small code snippet will work.
7 Steps to Set Up Your Chatbot Calendly Integration
Create Your AI Agent
Log into your YourSaleMate dashboard and click Create New Agent. Describe what your agent should do and who your customers are. Be specific — the more context it has about your business, the better it performs from day one.
Train It on Your Business
Upload your website URL, documents, and custom Q&A pairs so your agent learns your product, pricing, and common questions inside out. Agents trained on all four sources handle 70 to 80 percent of questions automatically without human involvement.
Connect Your Calendly Account
In your dashboard, go to Integrations and click Calendly. Complete the OAuth connection — log into Calendly, authorise the connection, and you are done. Select the event type you want your agent to share, then write a custom message for when the booking link appears in chat.
Customise How Your Agent Looks
Match the chat bubble colour to your primary brand colour. Give your agent a human name. Write a specific welcome message that tells visitors exactly what the agent can help with. A widget that feels like part of your site converts significantly better than one that looks like a third-party add-on.
Set Your Behaviour Rules
Configure when the agent brings up the Calendly link. Let the conversation develop naturally for two or three exchanges first, then introduce the booking option when the visitor asks about pricing or mentions a specific problem your product solves.
Embed on Your Website
Go to Deploy and copy the single-line embed script. For WordPress, use the Insert Headers and Footers plugin. For Webflow, paste under Project Settings, Custom Code, Footer. For Shopify, paste into theme.liquid before the closing body tag. The agent goes live the moment you save.
Test Before Going Live
Open your site in an incognito window and have a real conversation with your agent. Ask the questions your customers actually ask. Click the Calendly link and complete a test booking end to end. Ten minutes of testing saves a week of a poorly performing agent once real visitors arrive.
To see exactly how YourSaleMate works before signing up, visit our how it works page. If you want to explore pricing first, check out our pricing plans — there is a free plan to get started.
What Businesses Are Seeing After Launch
Teams that previously relied on passive contact forms are seeing two to four times more Calendly bookings from existing traffic without any increase in ad spend.
The average business takes 47 hours to respond to a web enquiry. An AI agent responds in under a second, at 3am on a Sunday, in whatever language the visitor is writing in. Speed is one of the strongest predictors of whether a lead converts.
When an agent handles 70 percent of common questions automatically, the remaining 30 percent that reach your team are genuinely complex — not repetitive FAQs. Teams using this setup report significant reductions in support ticket volume within the first 30 days.
Five Mistakes That Kill Your Chatbot Calendly Integration Results
Frequently Asked Questions
A chatbot Calendly integration is the single fastest way to turn passive website traffic into booked meetings without hiring extra staff or writing a single line of code. Every day your website runs without one is a day visitors are leaving without a next step.
Ready to Book More Meetings While You Sleep?
YourSaleMate is free to start, takes under 30 minutes to configure, and connects to Calendly with no coding required. Your first AI agent can be live today.